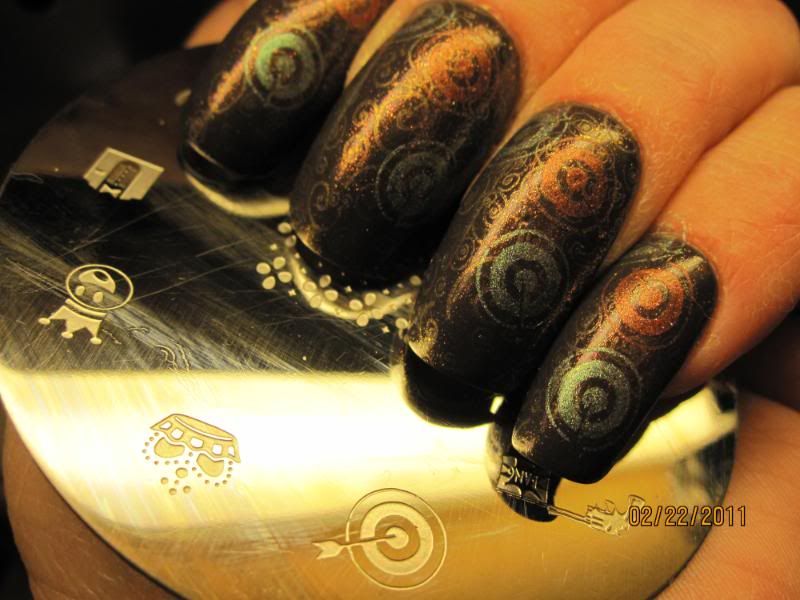
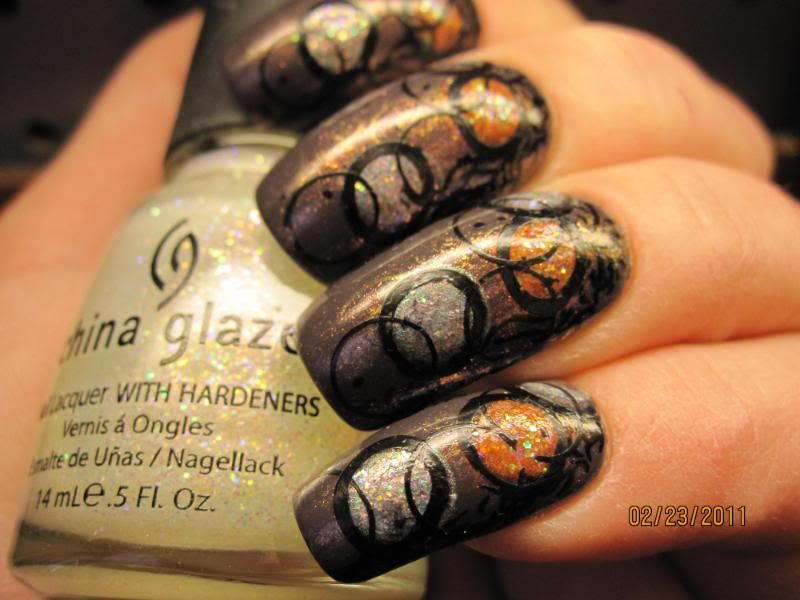
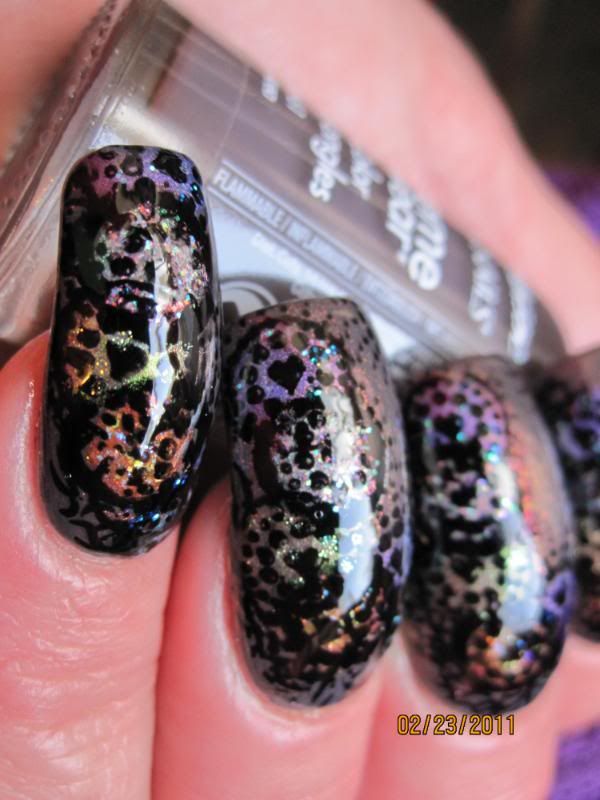
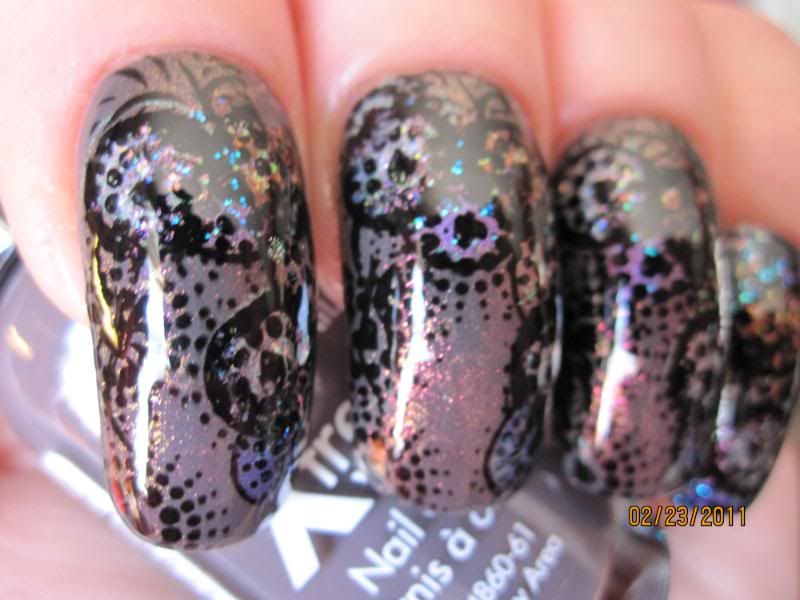
Tuesday, March 29, 2011

another construction update

Hi Kids!
Popping in with an update on where I'm at in construction. It's been a slow moving project. I get 1 full day a week to work on it with a few single hours here and there throughout the week. The size of my new area is
7' x  10' , what used to be my dining room, but has never used as one. It's in an open floor plan that includes a large living room converted to sewing studio for me, and workshop area for dh.
The U shaped table I'm constructing will have 3 sections. The largest is, of course, my mani station. Next to that, in front of the window will be my make-up area, and to the right, will be a small section for my jewelry making supplies.
Anyway, my under stamping plate storage is almost complete. It's ingeniously designed using supplies meant for a totally different application. Have a look...


tab
From mani station
le
From mani station

After I finish with plate storage, I'll be completing work on cotton ball storage (haha, yes, another idea that got turned into a project)
Just below this section of the table is the bottom part of an old bookcase, flipped up-side-down. There is a deep recess that's perfect for storing cotton balls, so I cut a rectangle door out of the table to access the recess. Now all I have to do is decide whether I want to use hinges on the door or do I want the access door to lift off...decisions...

From mani station
Once that's finished, I'll have made my decision on what type of ventilation fan I'm getting and how I'm going to install it.
I'm not sure how much longer this project will take.  When I'm finished, I'll have to re-organize the space where my old mani station was and give that stolen space back to my sewing studio.
One thing is for sure, I cant wait to get back to my nails. After several construction accidents, one of which sent a screw through a nail, I went ahead and took them all down to a manageable working length. In addition to that, since I don't have time to maintain polish, I've been wearing the strongest polish known...
glitter.
A whole week wearing 2 coats of Milani Gold Glitz, 1 coat of a franken made from SinfulC All About You, topped with 2 coats of Seche, with nary any tip-wear.

Thursday, March 17, 2011

New polish shelves

Hey Kids!
Since I won't be posting manis while I'm in construction mode, I'll be posting my progress with the new mani station. First up, my new polish shelves. The empty area on the right will be home for all my stamping polishes. The shelves will look much better once they're trimmed out, which I'll do at the end of construction.

Today, I will be starting the most complicated part of the project- building and installing my work-table. The table itself is easy- construction under the table is what's going to be time consuming and tricky. I'm incorporating the way my table is supported with the need for storage using two 46" high stereo speakers my husband was going to throw out. It would be much easier to build with all new materials, however, I love the rewards of repurposing something that was destined for the landfill. It's a passion of mine, and one that never fails to give me a sense of pride and accomplishment.


Close-up of how I notched out the shelves and of  Streetwear Elf- recent find at the bottom of a bargain basket in a discount beauty supply store for $.50.

Tuesday, March 15, 2011

Cloisonne inspired- layered fauxnad

Hi Kids!
Oh my goodness...almost 3 weeks since I posted! I'm in the process of moving my manicure area to the other side of my studio, which means I have to build new polish shelves. In addition to that, I'm going to build a U shaped work table and new storage space for my stamping plates.
Polish shelves are almost completed, except for trimming them out, and I've already moved my polishes to their new home.
Since I'm doing this construction all by myself, I haven't had much time for nail stamping. I do, however, have the following post of my last mani, that I've been sitting on for far too long.
I also still need to get polishes out to peripatetic33. Hoping to get them out by Friday.
Anyway!...
There are 2 questions I get asked repeatedly in regards to my layered fauxnad/Konad manis.
#1- How long did it take?
#2- How can you bear to take it off after all that work?

The answer to question #1 is somewhat complicated. Since I don't often have a concrete plan, I tend to work in sessions/stages over the course of an evening, or over a couple of days with a loose idea. During these stages I do a lot of test stamping on plastic that's been covered with my base coat. This is also the stage where I work on frankening stamping polishes, or more often, tweaking one I already have to work better for my current mani. Practically *all* my time is spent in this stage... I guess it's a good thing that it's also my favorite part of nail stamping :)

Now, getting back to time spent...
The truth...
It took 5 hours to create the Cloisonne inspired mani you are about to see. 4 hours for testing & choosing stamping colors, testing & choosing images and  re-frankening several stamping polishes, and 1 hour for actual stamping on the nails.
A mixture of 22 stamping plates, fauxnad, Konad and Bundle Monster, were used here...the most I've ever "worked" for 1 mani. I chose so many plates because I wanted each of my 5 nails to be different from the next (x2, right and left). There are only 3 or 4 images that repeat and appear across all 10 nails.

As for question #2... Given the enormous amount of time I put into many of my layered manis, you would think I'd be upset when it came time for removal. 
Surprise!
I'm usually more than ready to remove my work and get started on something new. Since I do a pretty fair job at documenting my manis in Glammed-up, I can always come here when I feel the need to relive a mani.

I'm beyond happy with the following Cloisonne inspired mani. I wore it for a weekend, and it was a huge hit! More customers commented on this than all my other manis combined.

I'm really bummed that this looks so much better irl than my pictures...and I took a lot over the course of 3 days. I'm posting only 1 picture, because I'm pressed for time. If you want to see more, click on the mini pic and it will take you to my Picasa album.


Drop Box

Friday, February 25, 2011

Layered fauxnad, Lemony Flutter alternative

Hi Kids!
I'm waiting for a Capacitor and other parts for my PC to arrive, so I'm still publishing from my laptop. It's a PIA having to take my laptop and power cord out of my briefcase every time I want to go online.

Anyway!...I can't believe I've had Sally Hansen Grey Area with a layer of CND Crimson Sparkle on my nails for over a week now!  Although Crimson Sparkle, with its soft tri-chrome sparkles, is my absolute favorite CND Effects, I always felt that it overpowered the color it was being layered over, especially darker colors. My CND Crimson Sparkle works much better for me diluted 1/4 CS to 3/4 clear.

My idea for this mani included layering and using several floral images from the new D series fauxnad plates. Shortly after getting my base images down, I got distracted by the tangled mess in my jewelry drawer which lead to a  DIY project to get all my jewelry untangled, organized and into new storage. (pictures of that at the end)

By the time I got back to my mani, my original "vision" and motivation to complete was lost. Instead of abandoning the whole thing, I added a few more iridescent colors, sparkles and stamped a single image, and called it a day.
I'm glad I went ahead with this fixerupper...the iridescent color flashes and sparkle were pretty enough to warrant another day of wear rather than just taking pictures and removing it all. I really thought I could capture the pretty with 1 or 2 pictures, but my camera had different ideas, focusing instead, on the black stamping. In reality, these black areas look less globular.
It's all good, though...this fixerupper gave me new inspiration for a future mani.
Finished mani:


Remaining pictures are posted in order of  application:
Note the condition of my cuticles and hands in the first 3 pictures. Horrid dryness made much better in the last 3 pictures by a cheap alternative to Lemony Flutter !


Enlarge the next pic for pretty...


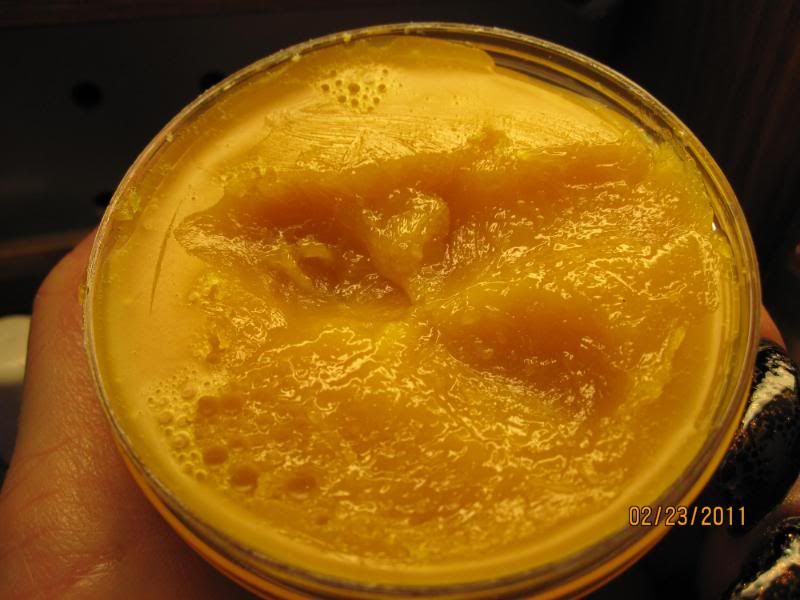
Here's the product that changed the condition of my cuticles and hands, literally overnight.
Heel To Toe Spa Pedicure Collection
$5.99 at Sally's will get you a 2oz tub.
Honestly, I like this much better than Lemony Flutter, and not just because it's readily available and cheaper.
HTT is not as oily feeling as LF...in fact, 15 minutes after application, you barely notice you have it on your hands. No need to wait until bedtime to apply it. I keep a small sample tub of this in my drawer at work. I have found that HTT protection lasts through several hand washings as well. Like LF, HTT contains the wet animal smelling Lanolin. While Lush tries to mask the smell with the opposing fragrance of Lemon, HTT does a much better job through the use of complimentary fragrance(s). Although not listed, my nose detects some pine and another wood/resin. HTT smells a bit like furniture polish/cleaner...maybe a bit like Murphy's Oil, but not in a bad way. It's not an overpowering odor, and it doesn't compete with cologne or perfume.
I originally purchased a sample pot to try on my feet, but never did. I ended up using it on my hands one evening because I was too lazy to get my Mango Mend from another room. Overnight, my hands went from being scaly dry (pics 2 & 3) to soft and supple.
Although Heel To Toe is meant for feet, I have no problem using it on my hands. It works well enough for me that I can say bye-bye to Lush and their overpriced Lemony Flutter!


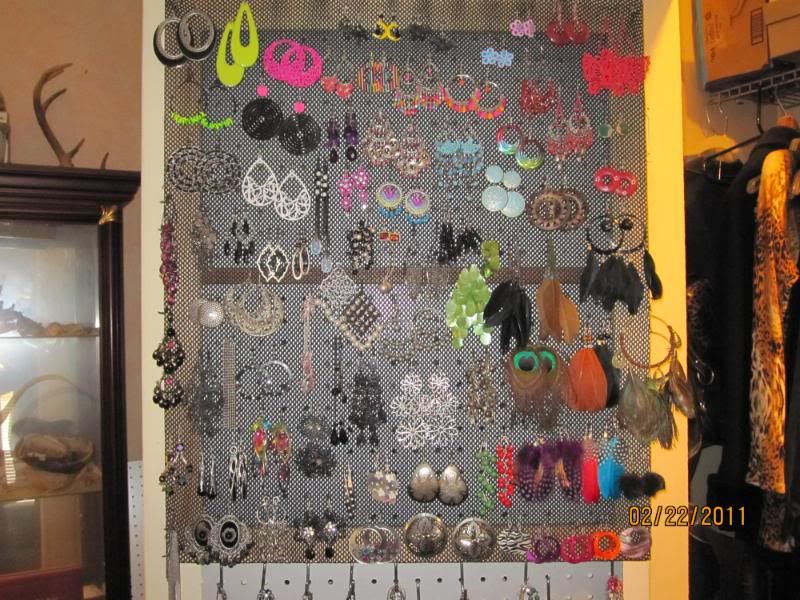
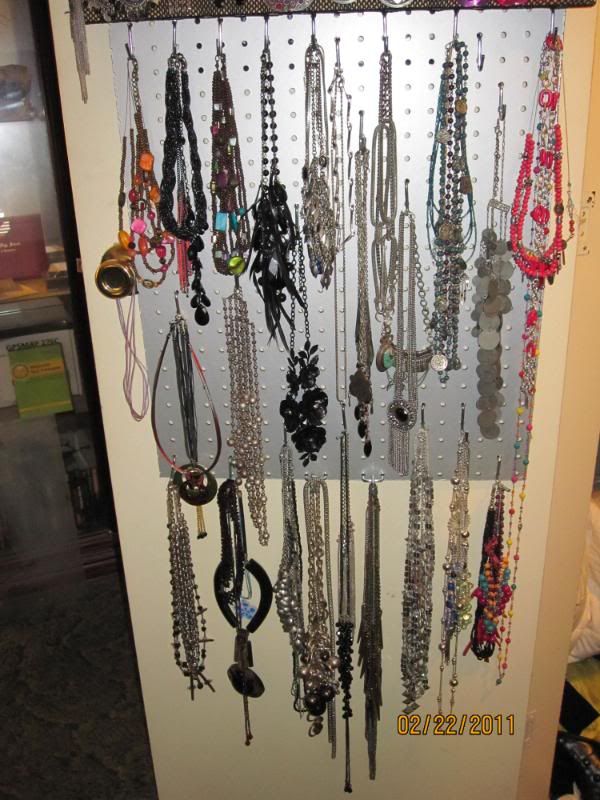
And...here's my jewelry DIY storage... No more tangles!!!
I attached a piece of pegboard to the back of my closet door to hang necklaces. I also salvaged the frame from a discarded art canvas, stretched and stapled black netting to it to hang my earrings. (my ears are gauged, but I always wear hanging earrings with my plugs) As you can see, my necklaces are currently hanging 3 and 4 on each hanger and there's no room on my earring board. Monday's project- since I have 2closet doors, the back of one will be for necklaces and the back of the other for earrings.

Thursday, February 17, 2011

scroll down, 2 jellies

Hi Kids!
My *almost new* Dell PC died a couple of days ago. I'm posting from the crummy laptop that I use as a wp just for work.  I don't how some of you publish from laptops. I find it super inconvenient, uncomfortable and I can't control the screwball mouse pad. I miss my big screen, my comfy leather chair, cordless mouse, and above all- decent speakers to listen to my music while publishing and surfing the Web.
Here's hoping that my dh figured out the problem and that the Capacitors I'm going to pick-up from Radio Shack will get us back up.

Actually, this has been a week of Hell. I've had to deal with irate employees (my dd included)...One of them failed to tell me that her apartment has been infested with Bedbugs for months.... Problem is...They all share a communal box for coats and other personal belongings. I pray she wasn't a carrier for stowaways.

To cap off my WOH, I contracted a Staph infection in my palm. Damn dirty public with their nasty, dirty hands! I can't tell you how mortified I am with the state of people's hands...I see it all. What's most disturbing to me- the amount of people, men and women, walking around with thick, deformed, yellow fingernails- nail fungus. Also, I've noticed that only half of the women I come in contact with wash their hands after using the restroom. Another thing... why is it that people, mostly men, always blow their nose right before they give me money?
I can't believe that in our time- the age of information- people still do this, and they think it's ok.
My hands are in a state of constant dryness due to all the hand washing I do and through the use of antibacterial gel. Even after being diligent in regards to keeping my hands clean, I still got a Staph infection. What's worse, it's in an inconvenient spot, on my palm, just below my middle finger. 

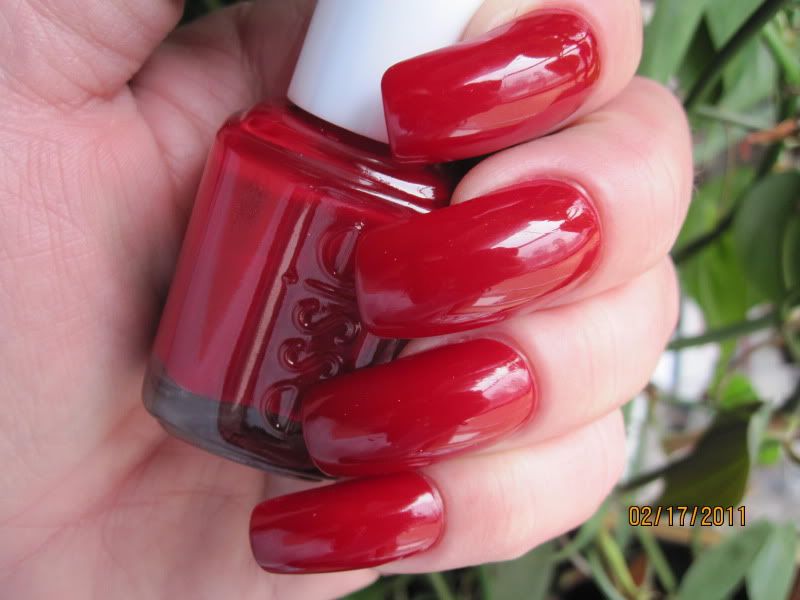
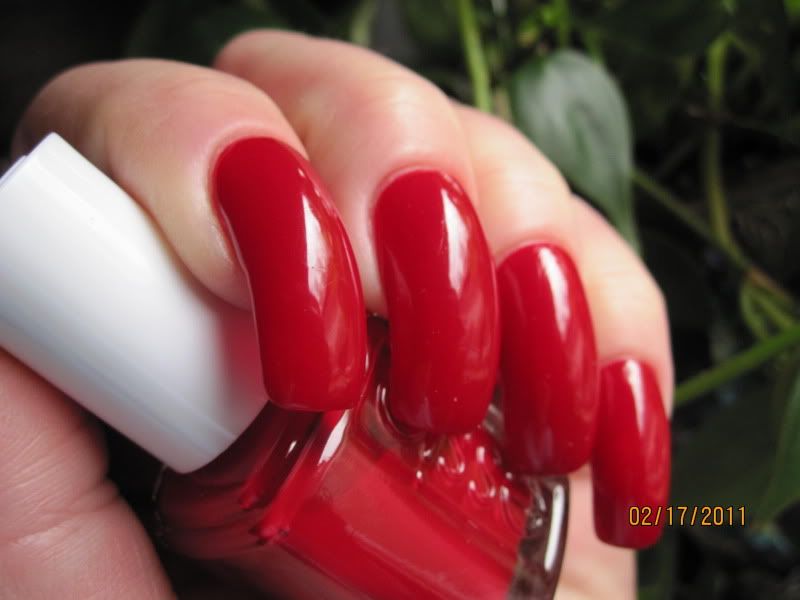
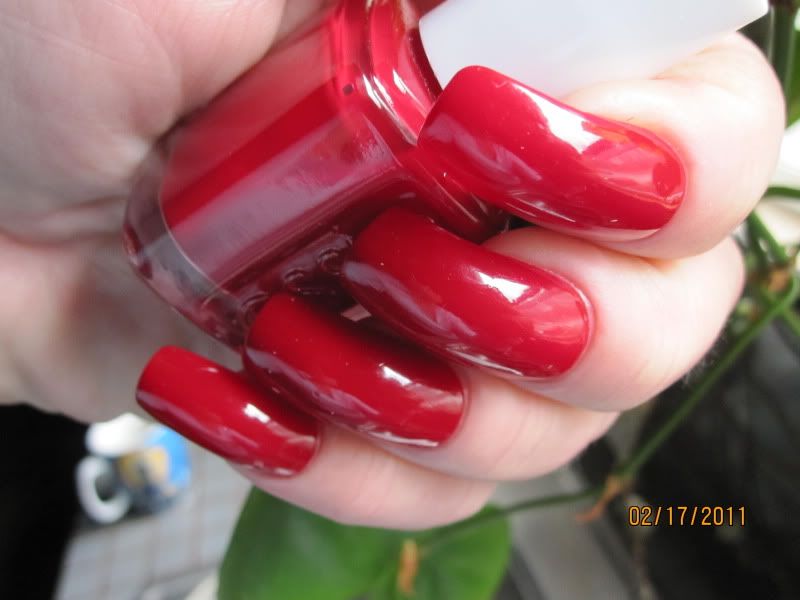
~Sigh~ At least my nails look good. Essie Fishnet Stockings...a gorgeous red jelly to make me feel better.
Geez...It ain't over...Just went to upload my pictures and received the message that my (very convenient) Picassa acct is full. I guess I'll have to upload to Photobucket.


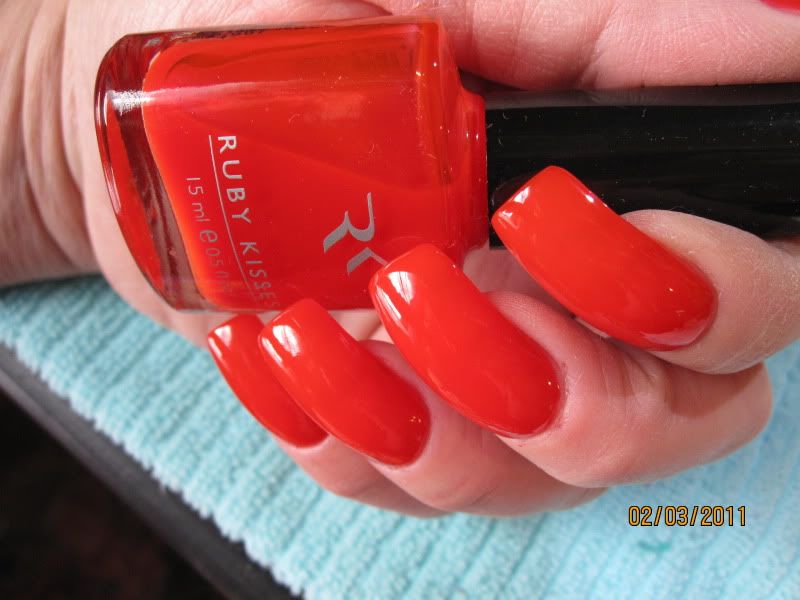
Bonus pictures of another jelly I wore as a NOTD. Ruby Kisses Fuzzy Naval....the most squishiest and juiciest jelly I have in my collection!


Monday, February 14, 2011

Review, Chez-Delaney D series plates

Hi Kids!
Right off the bat, I'm letting it be known that I've only fooled around with about 30% of the images from the D series fauxnad plates. I purchased them as a 30 plate bundle from Chez-Delaney. While shipping was super fast, some of my plates, including the XL "C" were slightly damaged by way of small dings. I don't think the damages happened in transit. They look to be manufacturing defects, quality control issues, and improper storage. These fauxnad plates are easily damaged due to the inferior metal stock used to make the plates. Many of my other fauxnad plates have similar damage. I never reported this to Chez-Delaney, so I can't give feedback on how she handles such issues. What I can say...twice I received plates that were stamped way off center, and duplicate plates were included, that although not perfect, were better.
I repaired all the damaged plates myself. I'm a corset maker, so I understand metals and have many tools in my arsenal to take care of stuff like this.

The D series fauxnad are available for 50 Euros ($68.44 USD) as a whole bundled collection of 30 plates.
Due to some images not stamping well or at all, Chez-Delaney discounted the price and is selling them as a set.
They are not sold separately!
This was good news for me...I figured I was going to get the entire set for the price of whatever plates I was going to cherry pick.
As for images not stamping at all, there really weren't that many. The biggest problem with some of the images I tried were incomplete/partial stamps.

Disclaimer...If you've been following my Blog for a while, you'll know that I do things differently. I don't stamp 1 or 2 images and call it a day. Although a little bothersome, partial stamps aren't a big deal to me.
Honestly, finicky/tricky images in the D series fauxnad plates make up only a small percentage- much less than the very challenging T series fauxnad plates. Seriously, sometimes all it takes to get a troublesome image to work is to experiment with different stamping polishes. Then again, I don't play by the rules where choice of stamping polish is limited to those that are labeled for stamping. I make most of my own stamping polishes now, and am always experimenting with regular manicure lacquers. Did you know that some jellies make excellent stamping polishes? Sometimes the only way to get an image to stamp is to use a jelly. Other times you may have to add thinner to a stamping polish, and in some cases the addition of clear to a polish is needed to make certain images to work.

So, before this post becomes a tip post (coming soon)...
The images in the D series fauxnad plates were well thought out- there is something for everyone. You're not getting the same old run of the mill images that look like something else you have on another plate. I think all of the images are outstanding. The assortment of flowers is amazing, as are the fleur de lis, emblems, scrolly and leafy thingies. There are a fair amount of images on these plates that I'm sure are a no-no...illegal... Mickey Mouse, Tweety Bird, Tinkerbell, to name a few, also stamp well.( I should add that I had to thin my black a bit for Tink to stamp fully.)
I have to laugh...the stamp I've used most, the circle on plate D30 is supposed to be one of the "fail" images.
For the last couple of weeks, I've been wondering why that circle has an off center dot. For this post, I went back to the Chez-Delaney site, only to find out that while it's supposed to be Winnie-the-Pooh in a circular frame, the only part of Pooh that made his way in that circle was his nose.

Anyway- I absolutely LOVE my D series fauxnad collection! As far as I am concerned, if I was only able to have 1 set of nail stamping plates, this series would be it, faults and all. Truly, this bargain priced set has all the right stuff!
If you are the type of person who plays by the rules and expects all the images to stamp perfectly with polishes made specifically for stamping, this set is probably not for you.


My plate below- no Pooh face...just the dot of his nose. This manufacturing fail works great for me. You'll see this circle image in a lot of my stampings.


Oh yes...I can't forget to mention the extra large, double end stamper also offered by Chez-Delaney, made specifically (I believe) for the XL plates.
Since I got this, I have not touched my Konad double ended stamper. I love this stamper as much as I hate it. The gummy heads pick up images like no ones business, however they also pick up things like hair, lint and anything else that gets within an inch of it- including the very plate you're taking the image from!. Cleaning between stamps is a nightmare if you use cotton balls. I'm going to try using one of those yellow, small cell kitchen sponges soon.
Another issue with this stamper- The material used to make the heads is squishy by nature. Care must be taken with how you apply images to your nails. "Rolling" and any type of firm pressure will lead to distorted stampings. What works best for me is gentle pressure with no rolling.


Please remember, this is a preliminary review of the D series fauxnad plates. I'll surely post another review in the future as I get to work with more images.

Tuesday, February 8, 2011

Many layered fauxnad, snakeskin!

Hi Kids!
Oh my gosh- I'm so behind with everything! My boss infected me with the flu twice in the last two weeks. He's sick again, and this morning, my nose started running. Gah!

Anyway, I've been playing around with my new Chez Delaney fauxnad plates, and came by my finished design by stamping the full (haha,yea right) nail image from plate D17 multiple times. Base was China Glaze FYI, stamped over with several glitter jellies, a shimmer and a couple of holos. I topped it all off with CND Jade Sparkle, an un-named mini with glitter and Seche.

You'll have to click on the pictures to see all the glitter in this design...it's so pretty! This is seriously the most photogenic mani I've ever had...every picture was a winner.